


How to Ride a Kick Scooter:
A Parent’s Guide to Safe, Confident First Rides
Alexia | 27th, Apr
I still remember the first time my kid stood on a scooter. One foot planted, the other kind of hovering… unsure. There was excitement, sure—but also that quiet hesitation. You know the kind. Like, “What if I fall?” mixed with “I really want to do this.”
Honestly, learning how to ride a kick scooter isn’t always as intuitive as we think. Some kids hop on and glide within minutes. Others need time, patience, and a lot of small wins. And that’s okay.
This guide walks you through exactly how to help your child learn—slowly, safely, and confidently. No tricks. No speed racing. Just the basics that actually matter.
Before Anything Else: Safety Comes First

Before you even get into how to ride a kick scooter, take a minute to set things up properly. This part matters more than most parents expect.
A few non-negotiables:
- One rider only — no sharing the deck
- Avoid hills, wet pavement, or crowded sidewalks
- Always wear protective gear (helmet, knee pads, elbow pads)
- Closed-toe shoes only (no sandals or flip-flops)
- Double-check that the scooter is fully locked and secure
If you’ve ever seen a child wobble because the handlebar wasn’t tightened… yeah, it’s not fun.
Choosing the Right Scooter (This Actually Makes a Huge Difference)
I didn’t realize this at first, but the type of scooter you choose can either help your child learn faster—or make it unnecessarily frustrating.
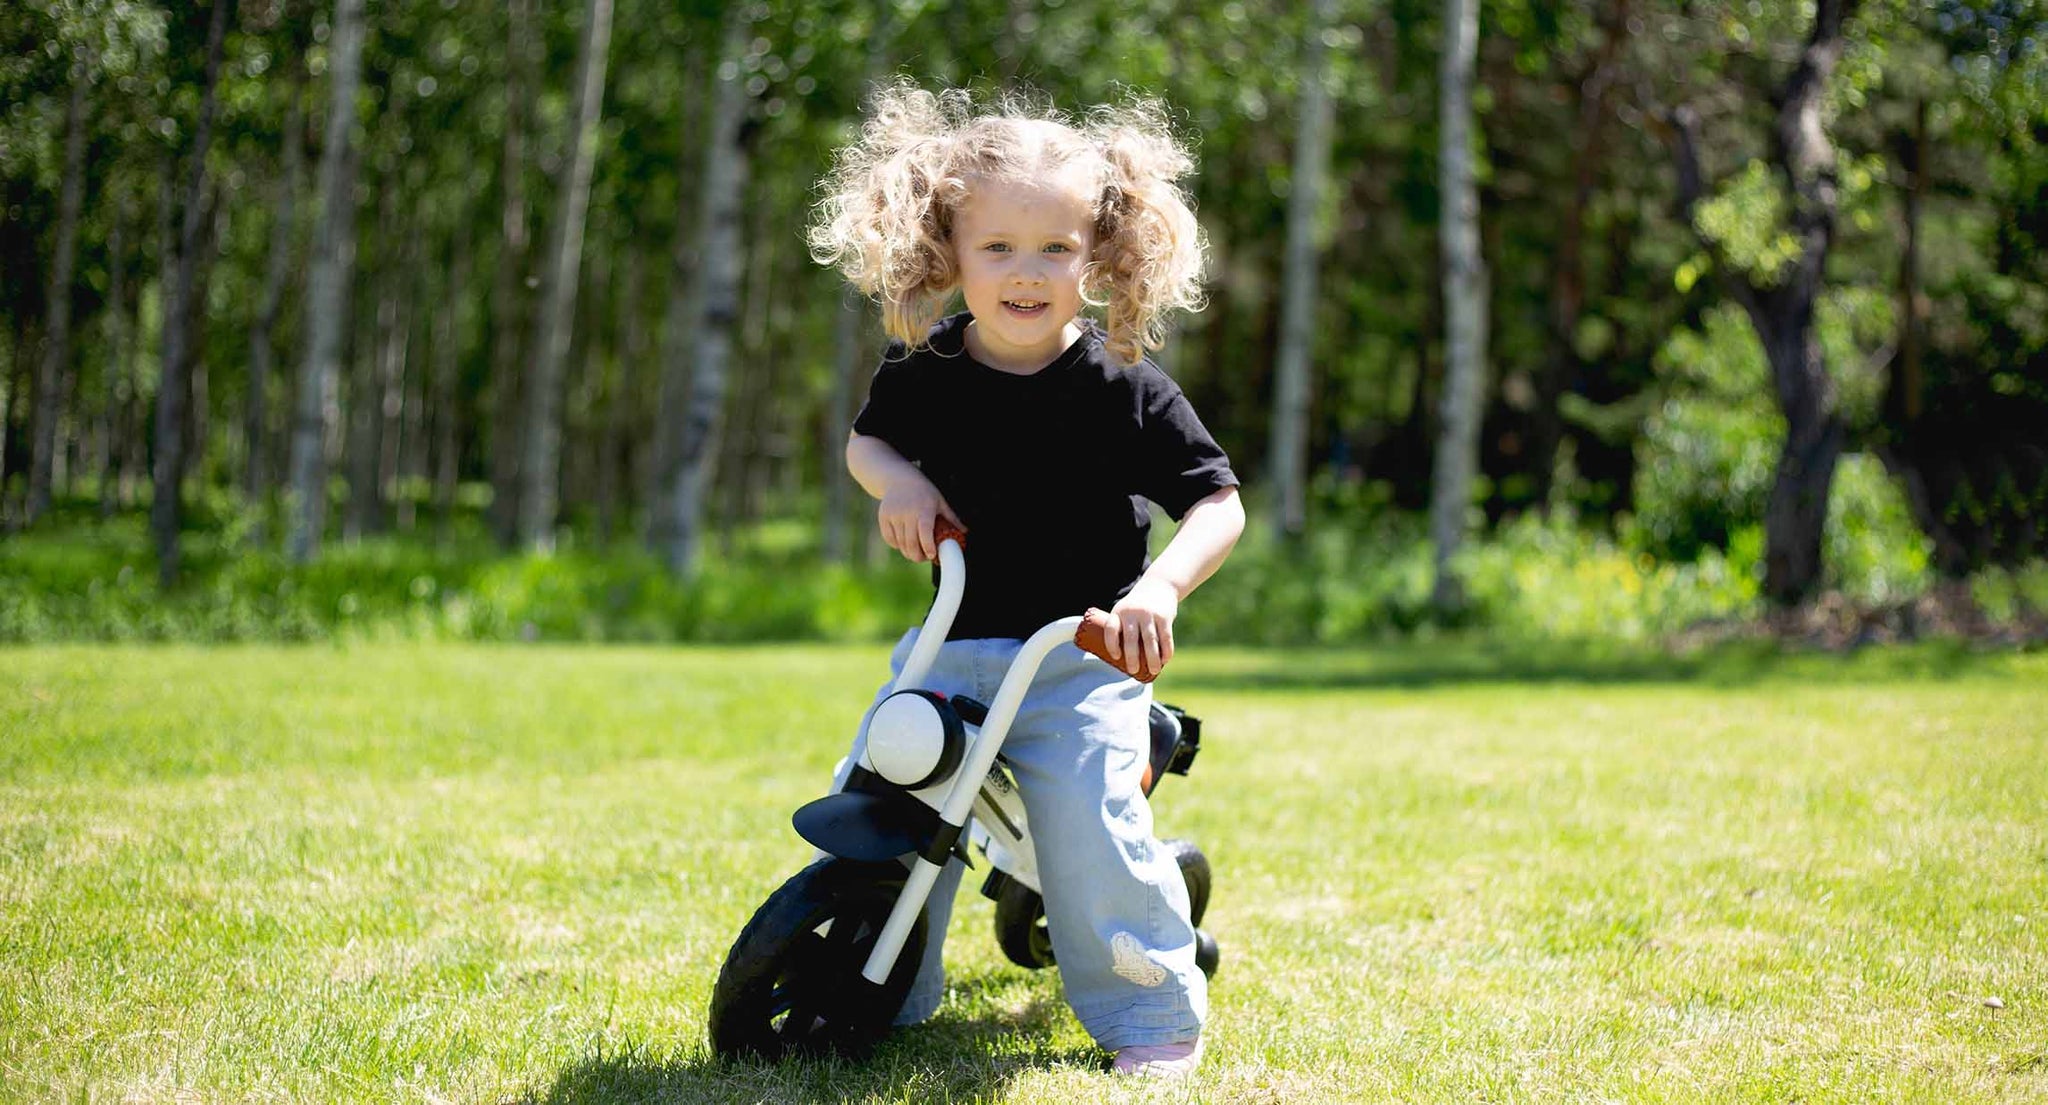
For younger kids (especially under 4), stability matters more than speed.
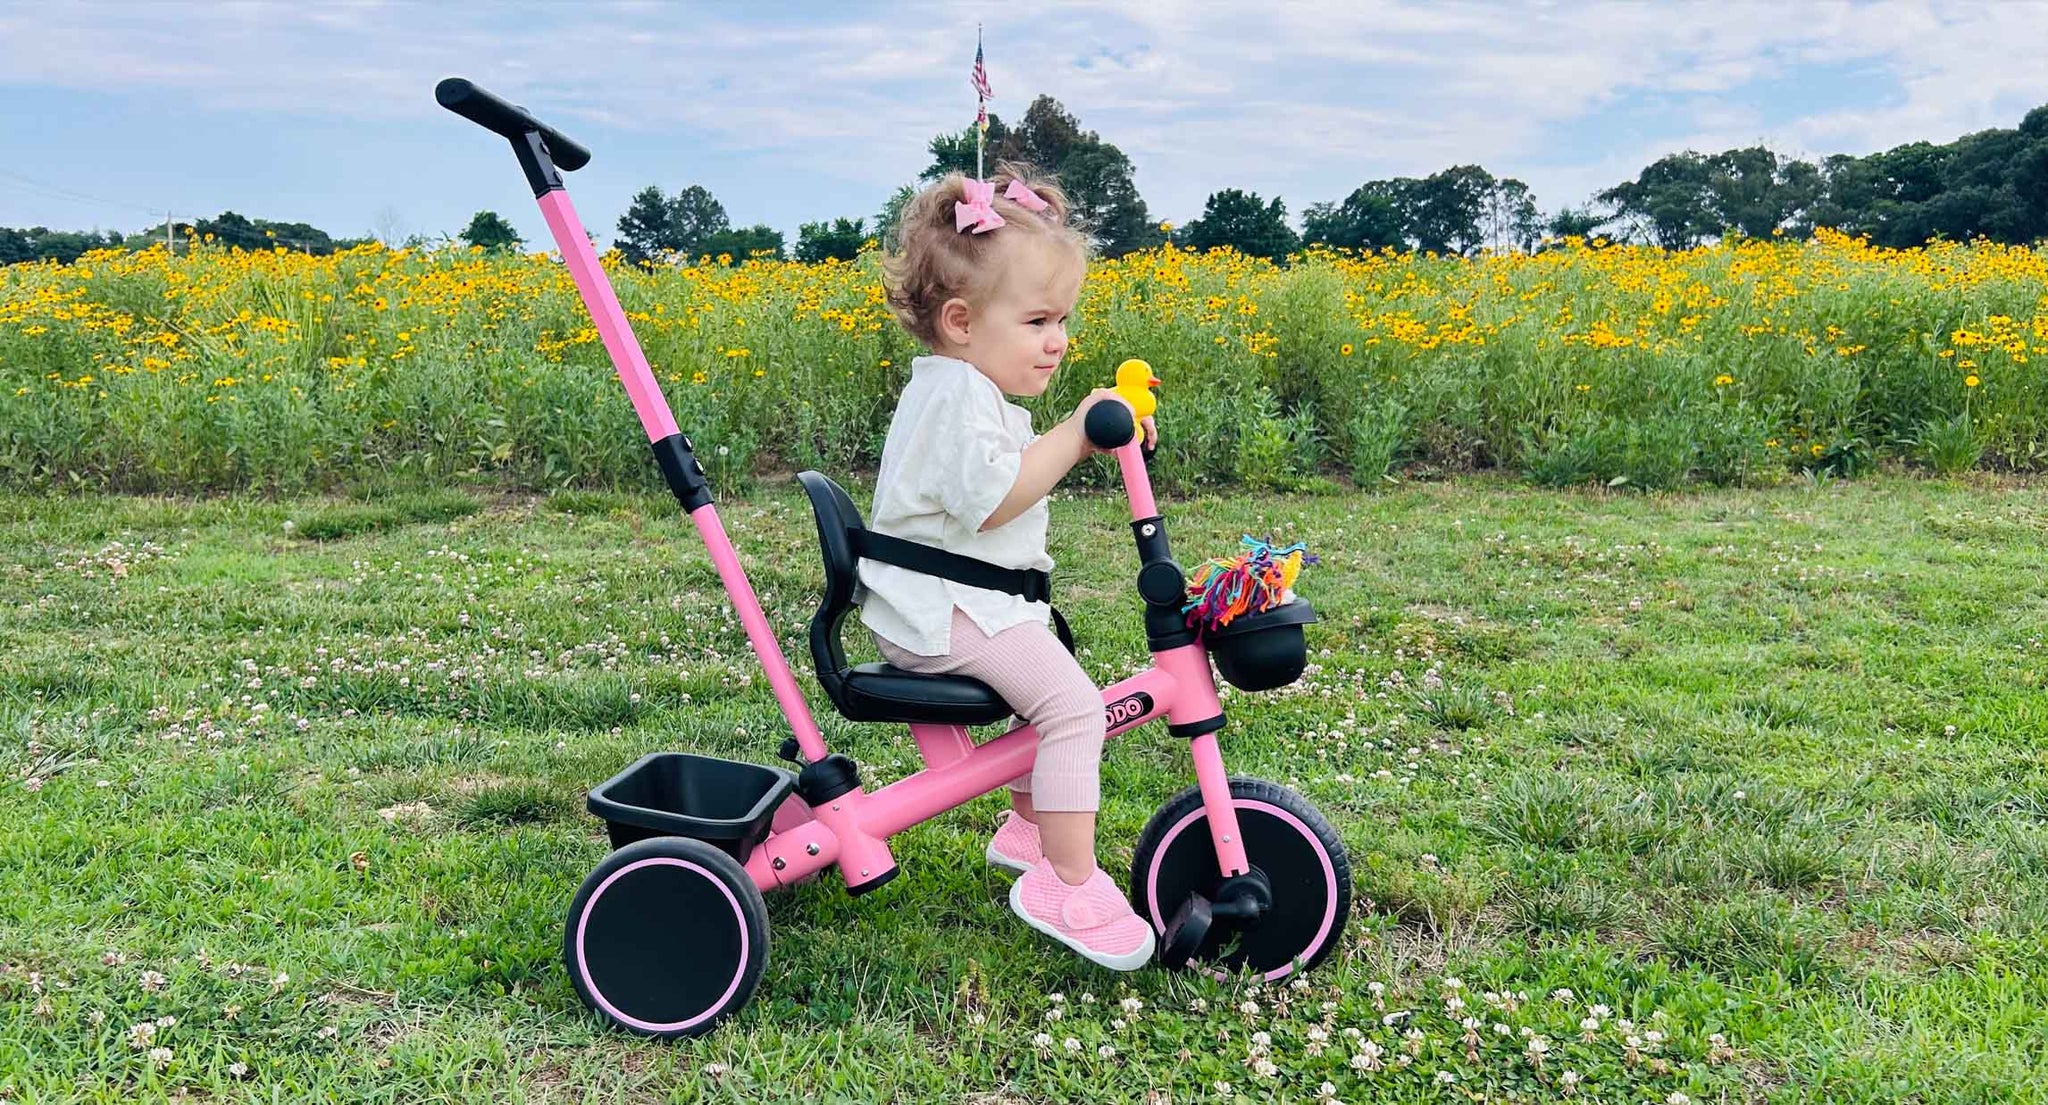
If you’ve ever wondered why some kids glide easily while others seem stuck, a lot of it comes down to stability. That’s exactly why many parents end up comparing two-wheel vs three-wheel designs —and honestly, once you see how each works in real life, the difference becomes obvious.
Timing matters too. Some kids are ready earlier than we think, others need a little more time.From experience, starting around age 2–3 with a stable design tends to work best.
A Scooter That Grows With Your Child (And Saves You Headaches)
One thing I didn’t expect? Kids outgrow things fast. Like, surprisingly fast.
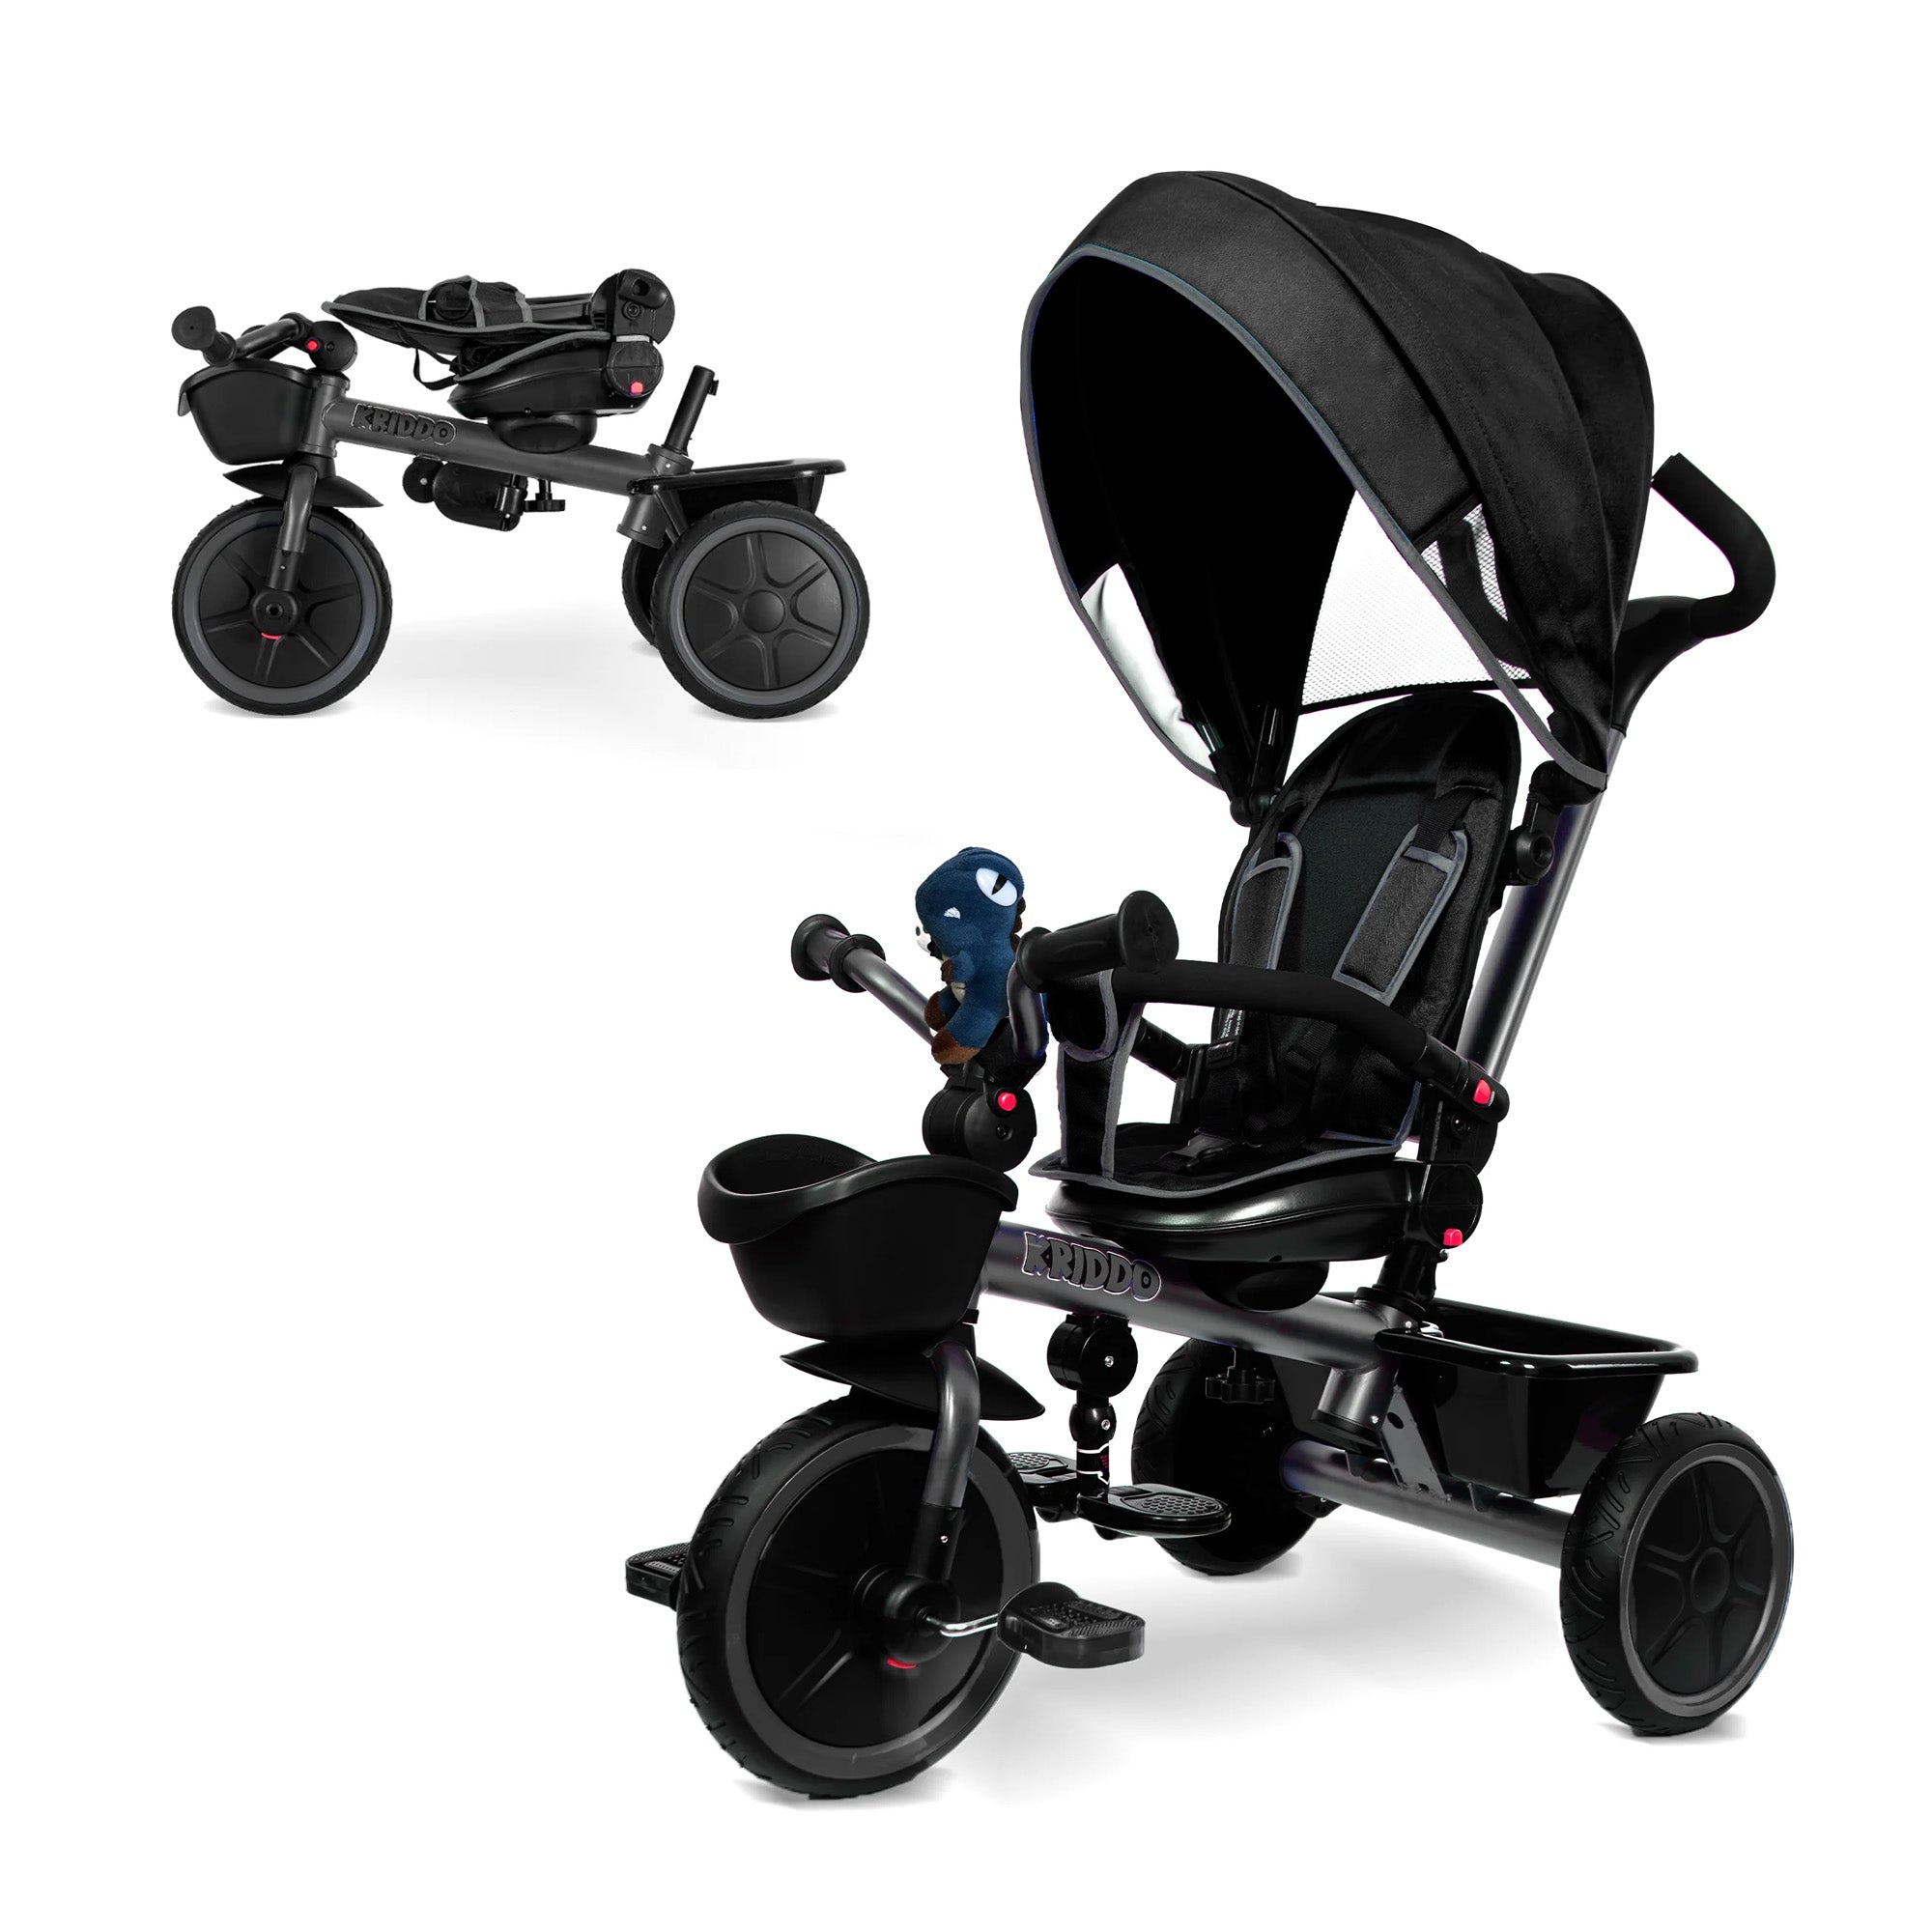
That’s why multi-stage scooters can be a smart choice, especially early on.
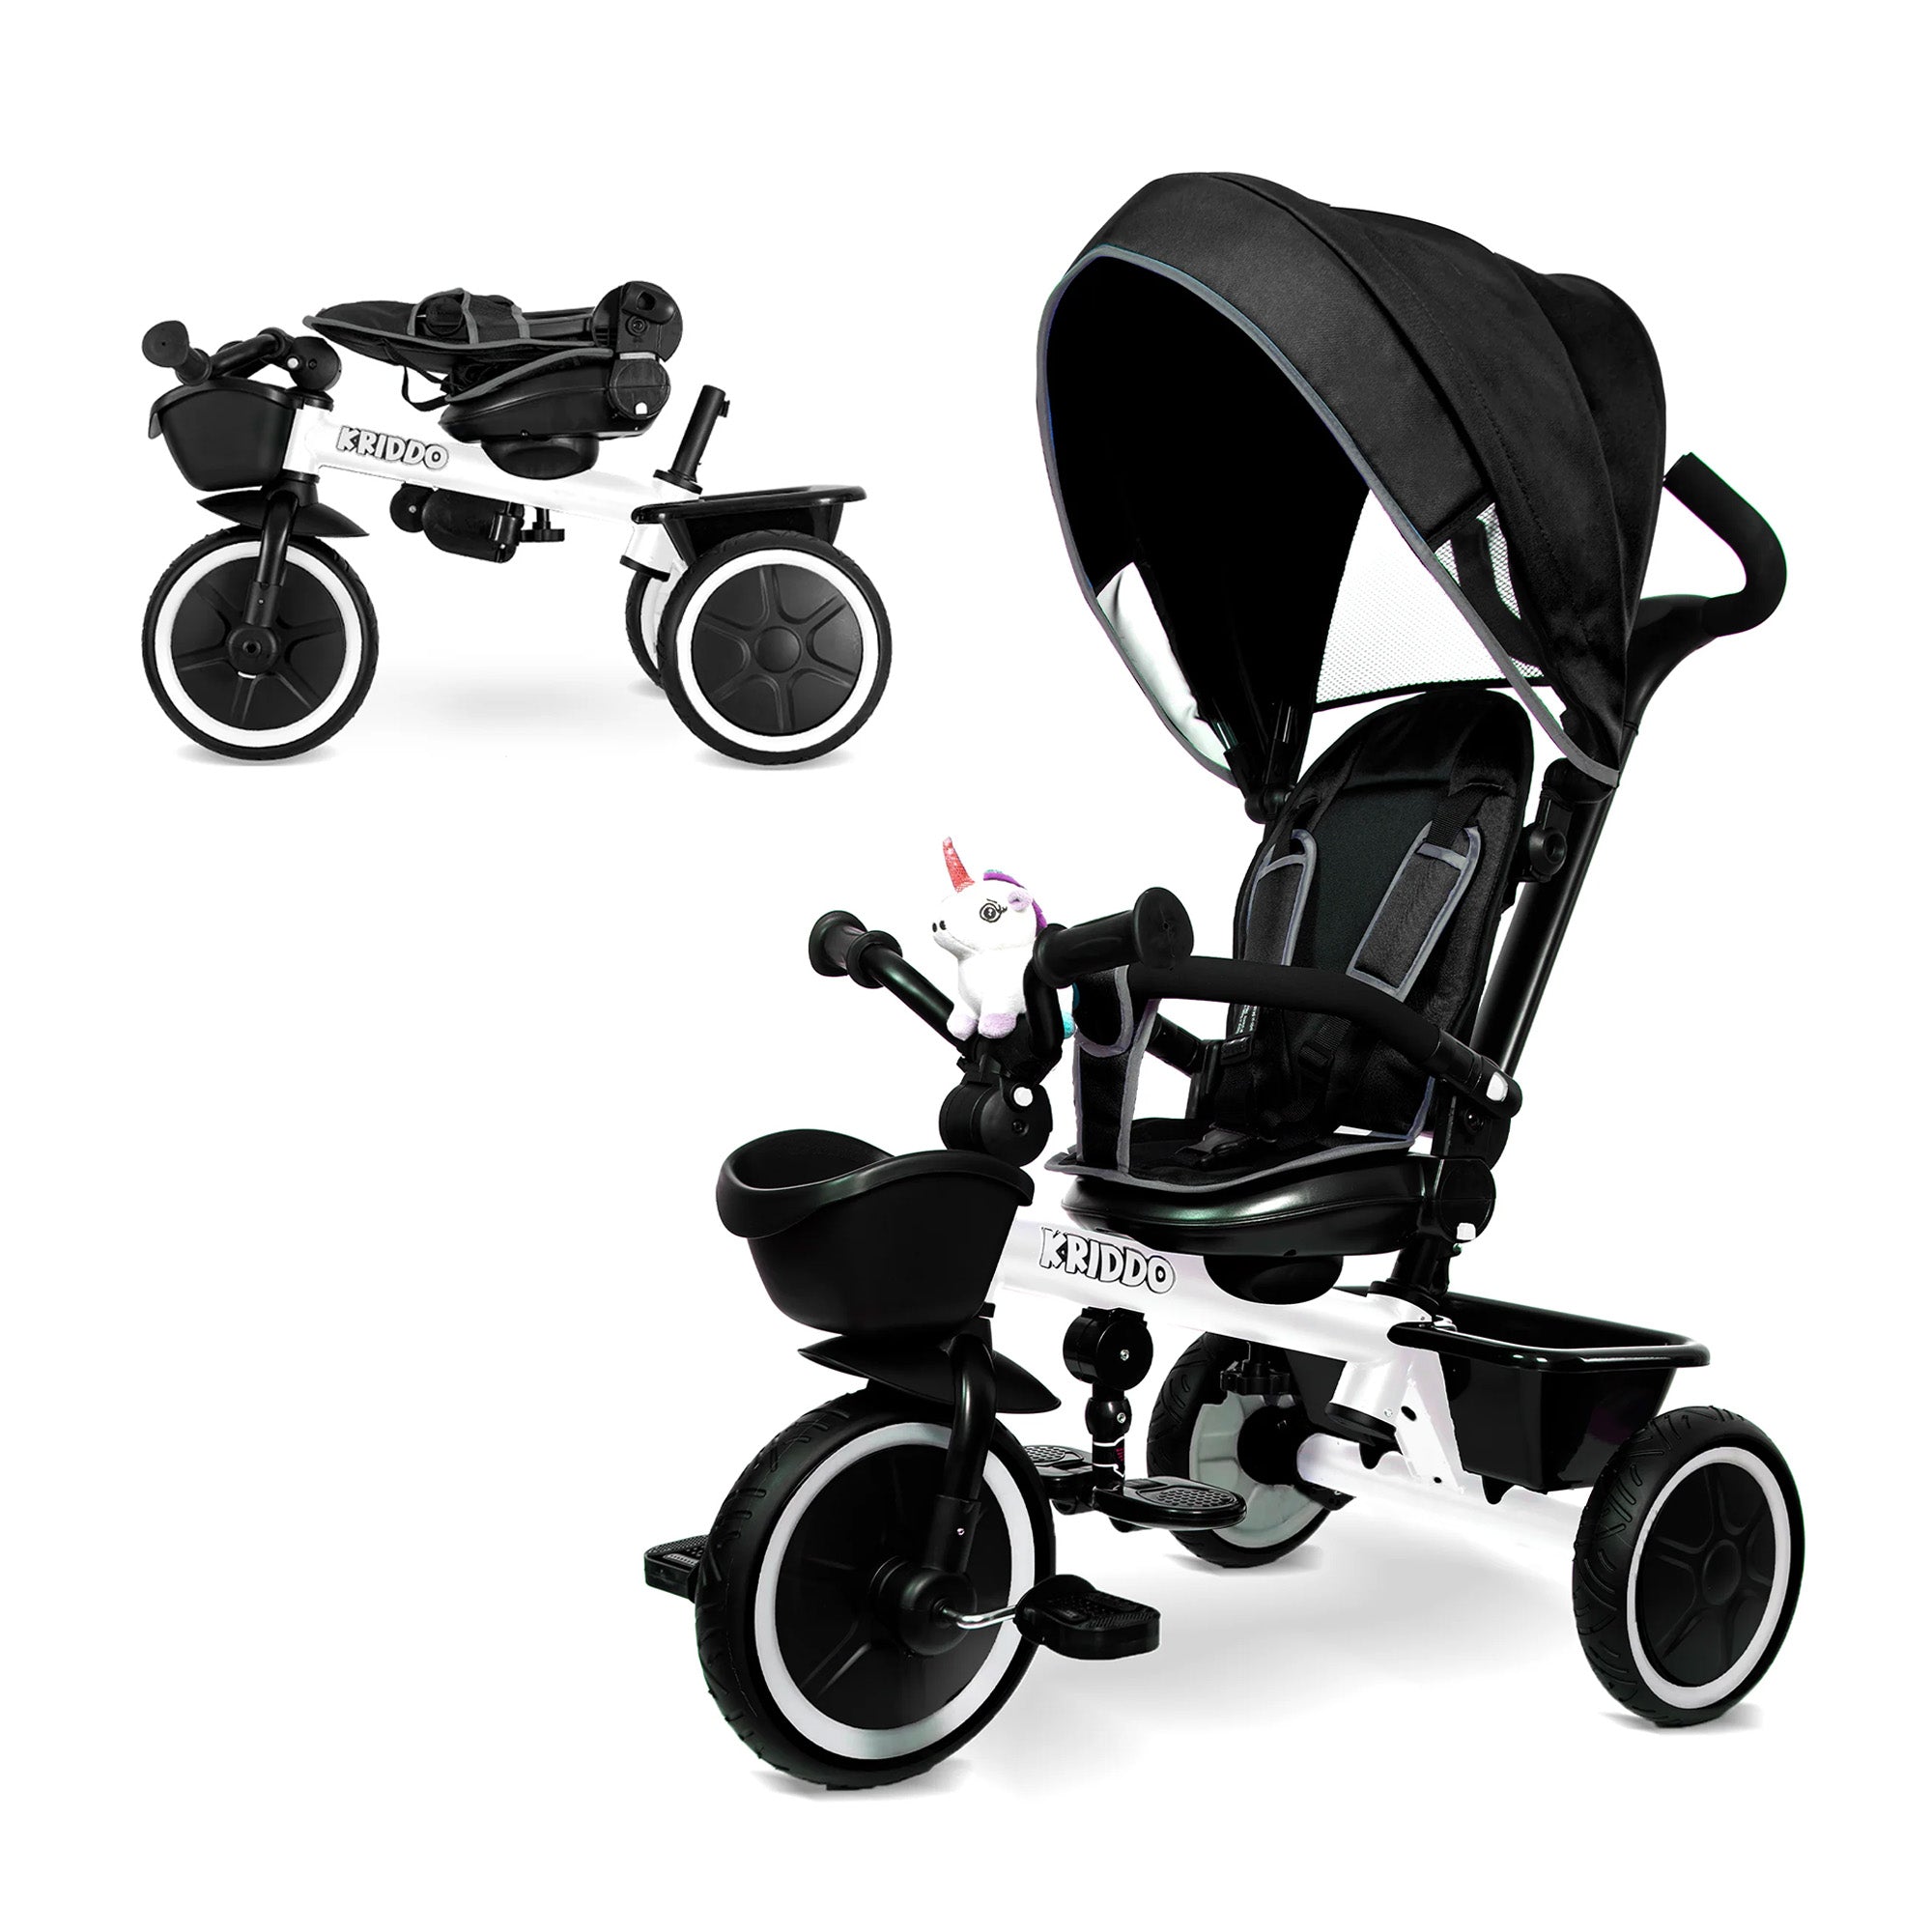
Here’s what stands out about the KRIDDO 5 in 1 kids scooter:
- Converts between sitting scooter, push trike, and standard scooter
- Easy mode switching as your child develops
- Smooth, quiet glowing wheels that glide well on different surfaces
- Lean-to-steer system that naturally builds balance and coordination
- Adjustable handlebar height for growing kids
It’s one of those products that actually adapts as your child gains confidence—which, honestly, makes the whole learning process smoother.
Breaking It Down: How to Ride a Kick Scooter Step by Step

Teaching a child how to ride a kick scooter works best when you simplify everything. Don’t rush it. Think of it as building blocks.
1. Getting On and Off
Start simple.
Have your child:
- Place one foot on the deck
- Keep the other foot firmly on the ground
- Hold the handlebars steady
Let them just stand like this for a bit. No movement yet. Just getting comfortable.
2. Finding Their “Balance Leg”
This part is surprisingly important.
Most kids naturally prefer one leg for standing and one for pushing.
Not sure which is which? Try this:
- Ask them to hop on one foot
- The foot they don’t use for hopping is usually the balance leg
That balance leg stays on the scooter. The other becomes the pushing leg.
3. First Push-Off (Keep It Small)
Here’s where things start to click.
Encourage your child to:
- Look forward (not down at their feet)
- Gently push backward with their free foot
- Keep movements small and controlled
Honestly, the biggest mistake is pushing too hard too soon.
Slow, steady pushes help them feel stable—and that confidence matters more than speed.
4. Learning to Glide
Once they get a little momentum, introduce gliding.
- Lift the pushing foot briefly
- Place it lightly on the deck
- Keep both feet close together
At first, this might last half a second. That’s fine.
Over time, that glide gets longer. You’ll actually notice the moment it “clicks.”
5. Steering (It’s Not What You Think)
For younger kids, especially on three-wheel scooters, steering usually happens by leaning, not turning the handlebars sharply.
Encourage them to:
- Shift their weight gently side to side
- Keep their upper body relaxed
It feels weird at first—but it’s much more natural once they get used to it.
6. Stopping Safely
Stopping is just as important as moving.
Teach them to:
- Use their back foot to press the brake (rear fender)
- Practice stopping at low speed
Some kids instinctively drag their foot instead of using the brake. It works—but it’s better to build proper habits early.
A Few Real-World Tips That Make a Big Difference
This is the stuff you don’t always see in guides—but you definitely notice as a parent.
1. Practice on smooth, open surfaces
Driveways, empty parks, or quiet sidewalks work best.
2. Keep sessions short
10–15 minutes is often enough. Kids get tired faster than they show.
3. Don’t overcorrect
Sometimes stepping back and letting them figure it out builds more confidence than constant instructions.
4. Expect a little frustration
Honestly… there will be moments. That’s part of learning anything physical.
When It Starts to Click (And It Will)

There’s this moment—hard to describe—when your child suddenly just gets it.
They push, glide, balance… and keep going.
No hesitation. No looking down. Just moving.
And you’ll probably stand there thinking, “Wait… when did that happen?”
That’s the payoff of taking it slow and focusing on the basics of how to ride a kick scooter instead of rushing progress.