




How to Do a Wheelie on a Bike for Kids:
A Parent-Friendly Guide
Emma | 3rd, Apr
A wheelie looks simple when a confident rider pops the front wheel up and cruises like it’s no big deal. In real life? It takes timing, balance, patience, and a lot of trial and error. That’s exactly why kids love it. Learning how to do a wheelie on a bike for kids feels exciting because it’s challenging, and when they finally get it, the payoff is huge.
But here’s the honest part: a wheelie is not a beginner move. It should only be practiced once a child can already ride confidently, brake properly, and stay balanced without panic. For parents, that means the goal isn’t just “get the front wheel up.” The real goal is helping your child build control, confidence, and safe habits while having fun.
And yes, the bike matters more than most people think.
Start With the Right Bike, Not Just a Cool Trick
Before your child even tries a wheelie, make sure they’re riding a bike that actually fits them and feels stable. A bike that’s too tall, too heavy, or awkward to control can make even basic riding harder, let alone something advanced like a wheelie.
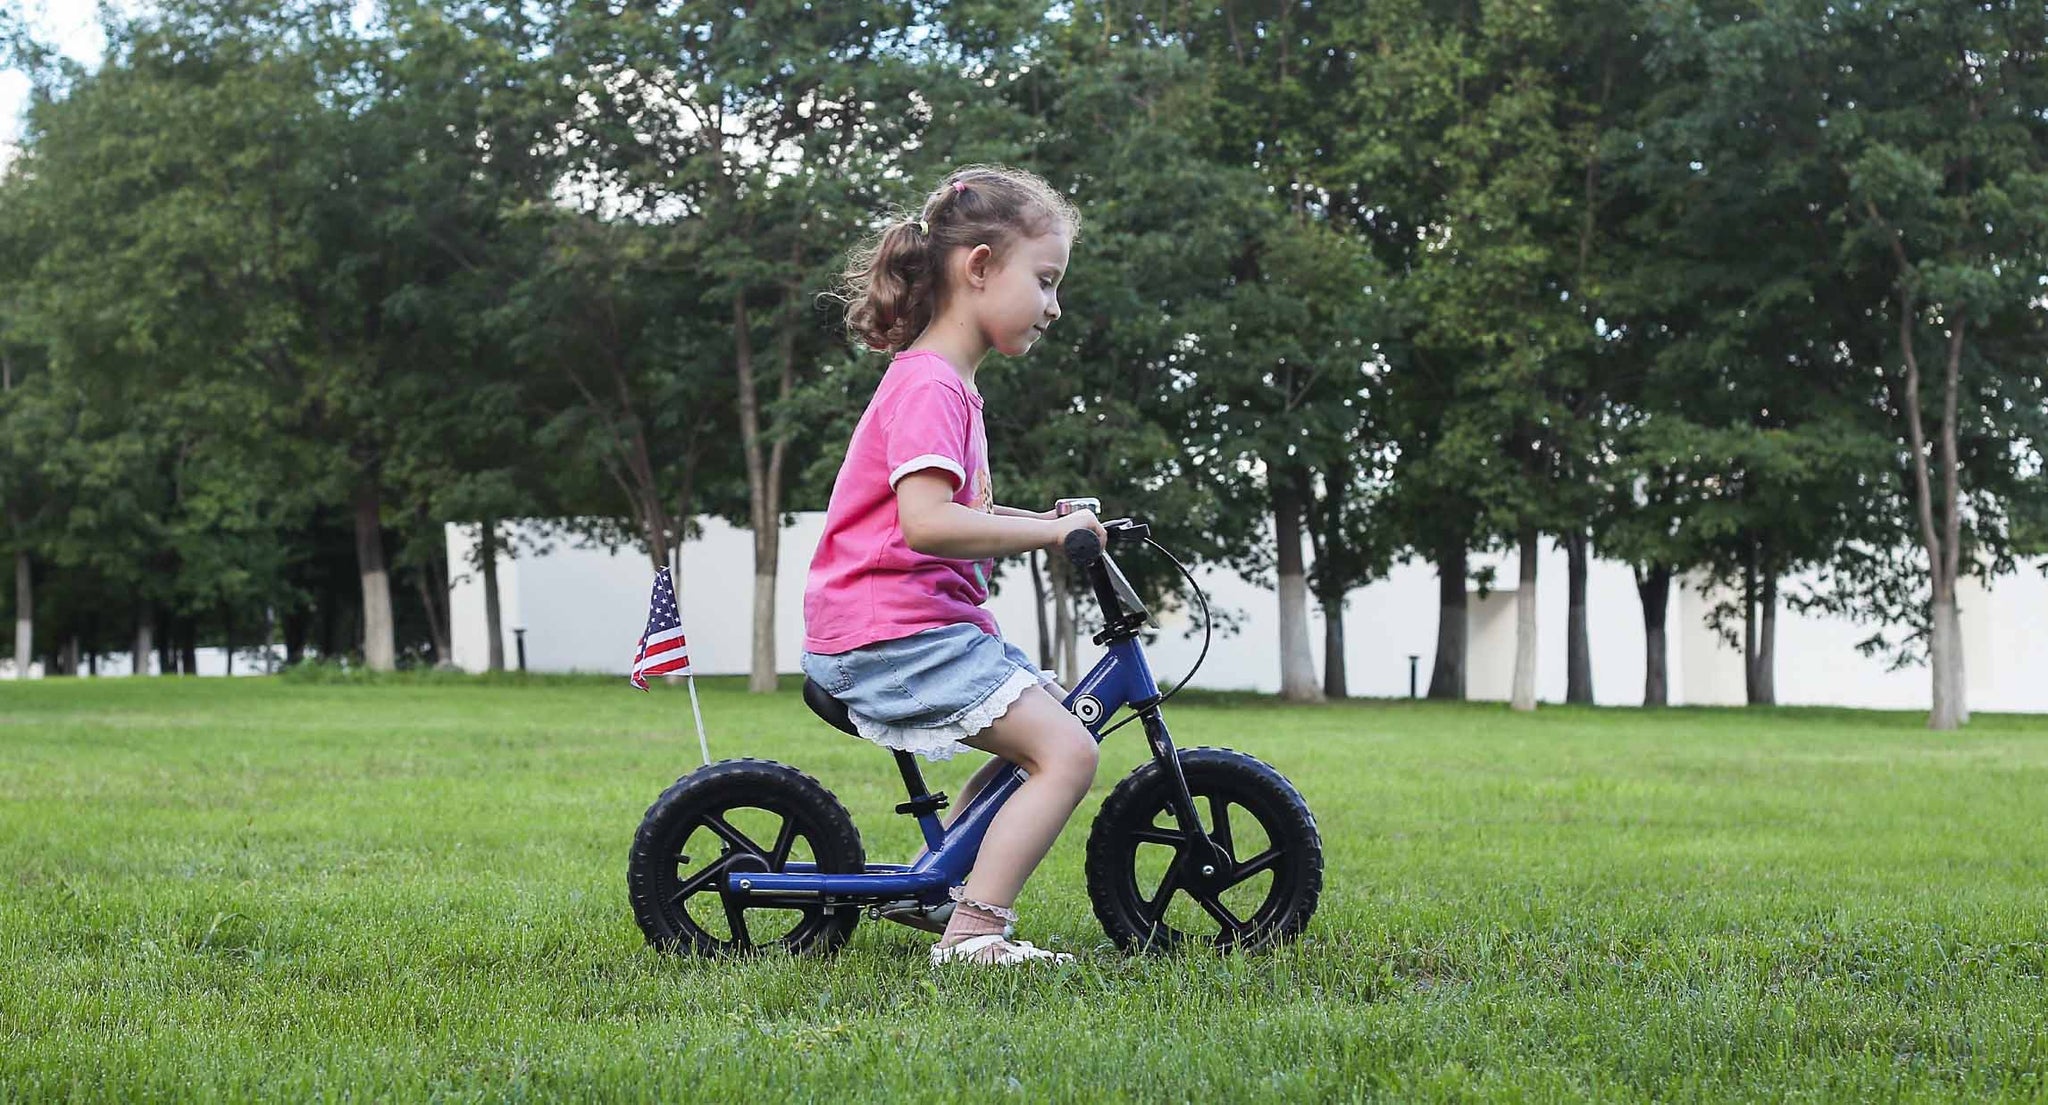
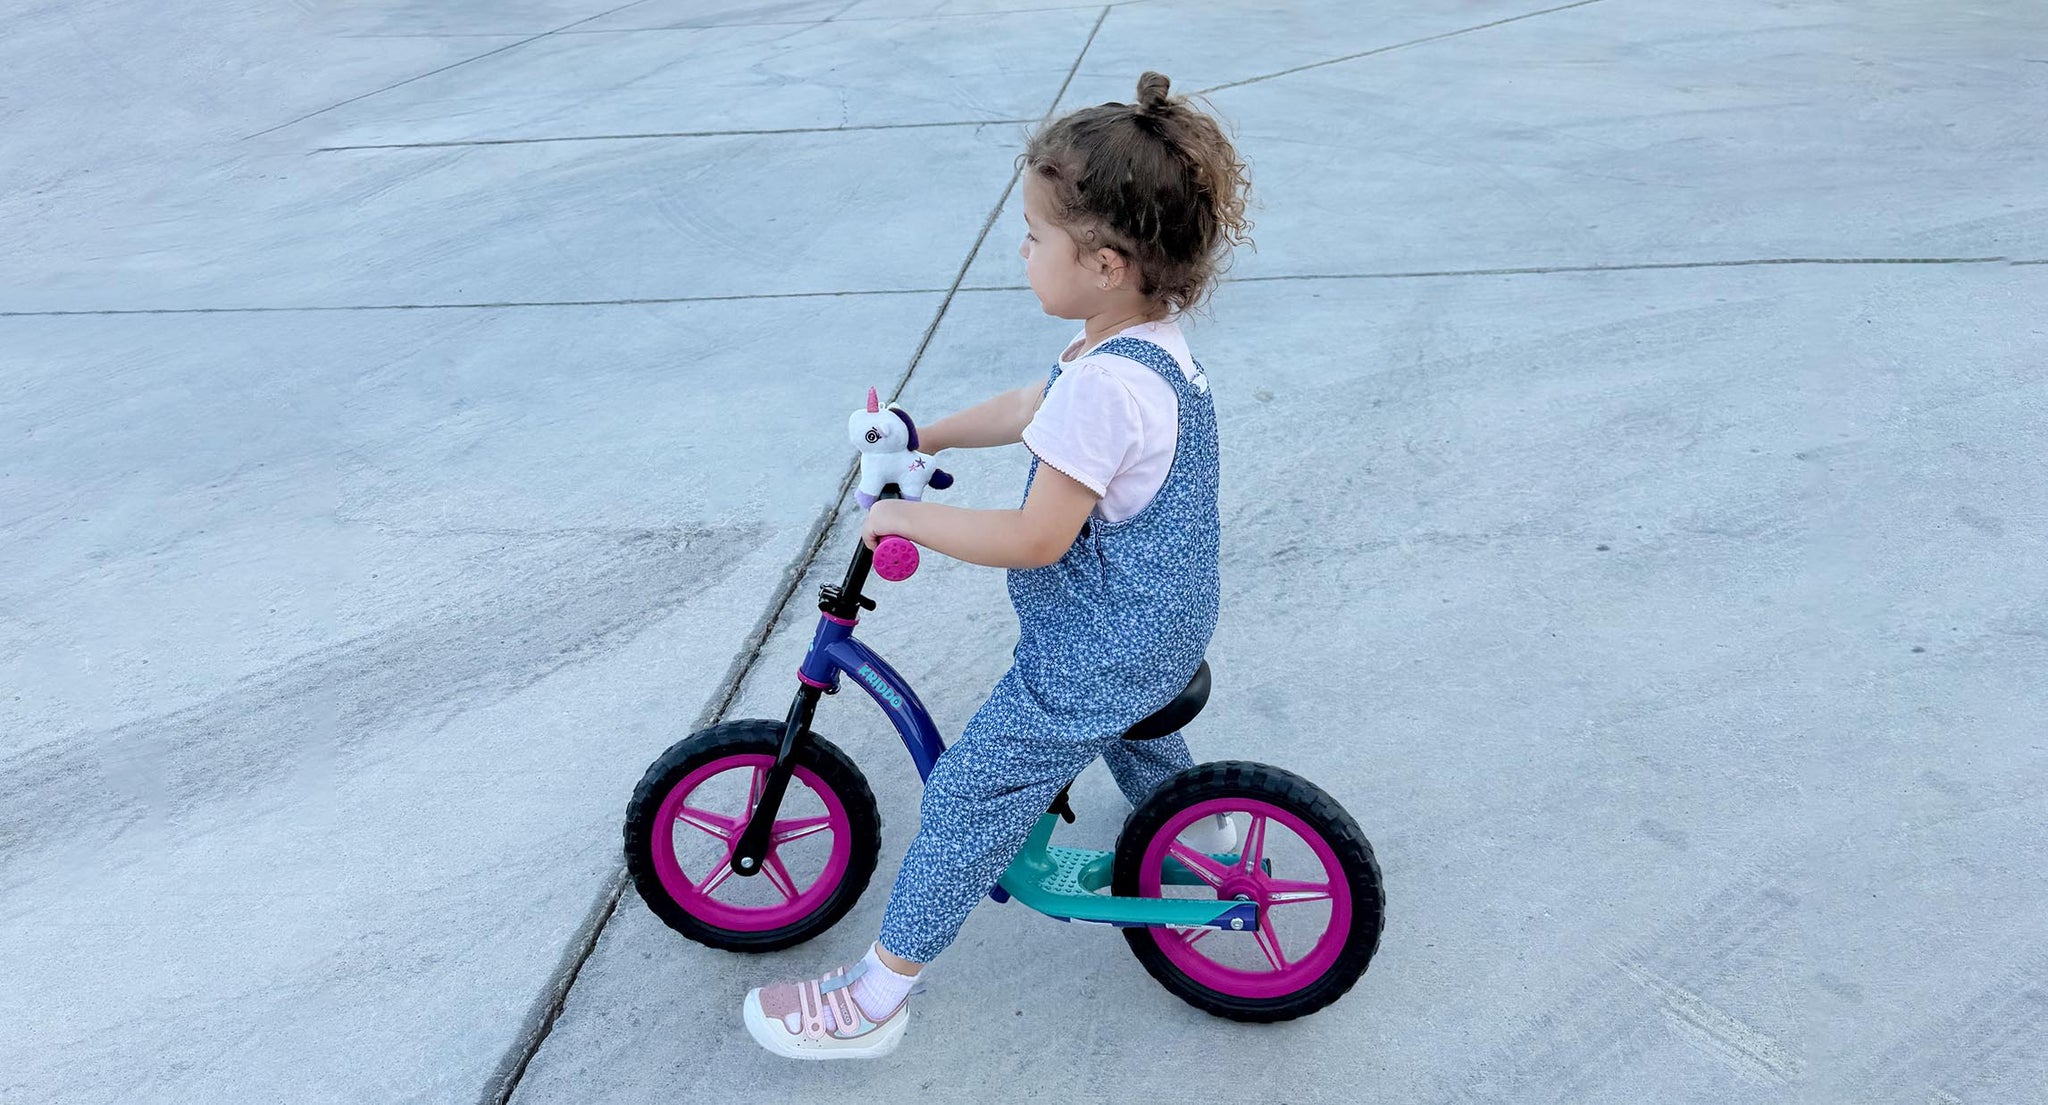
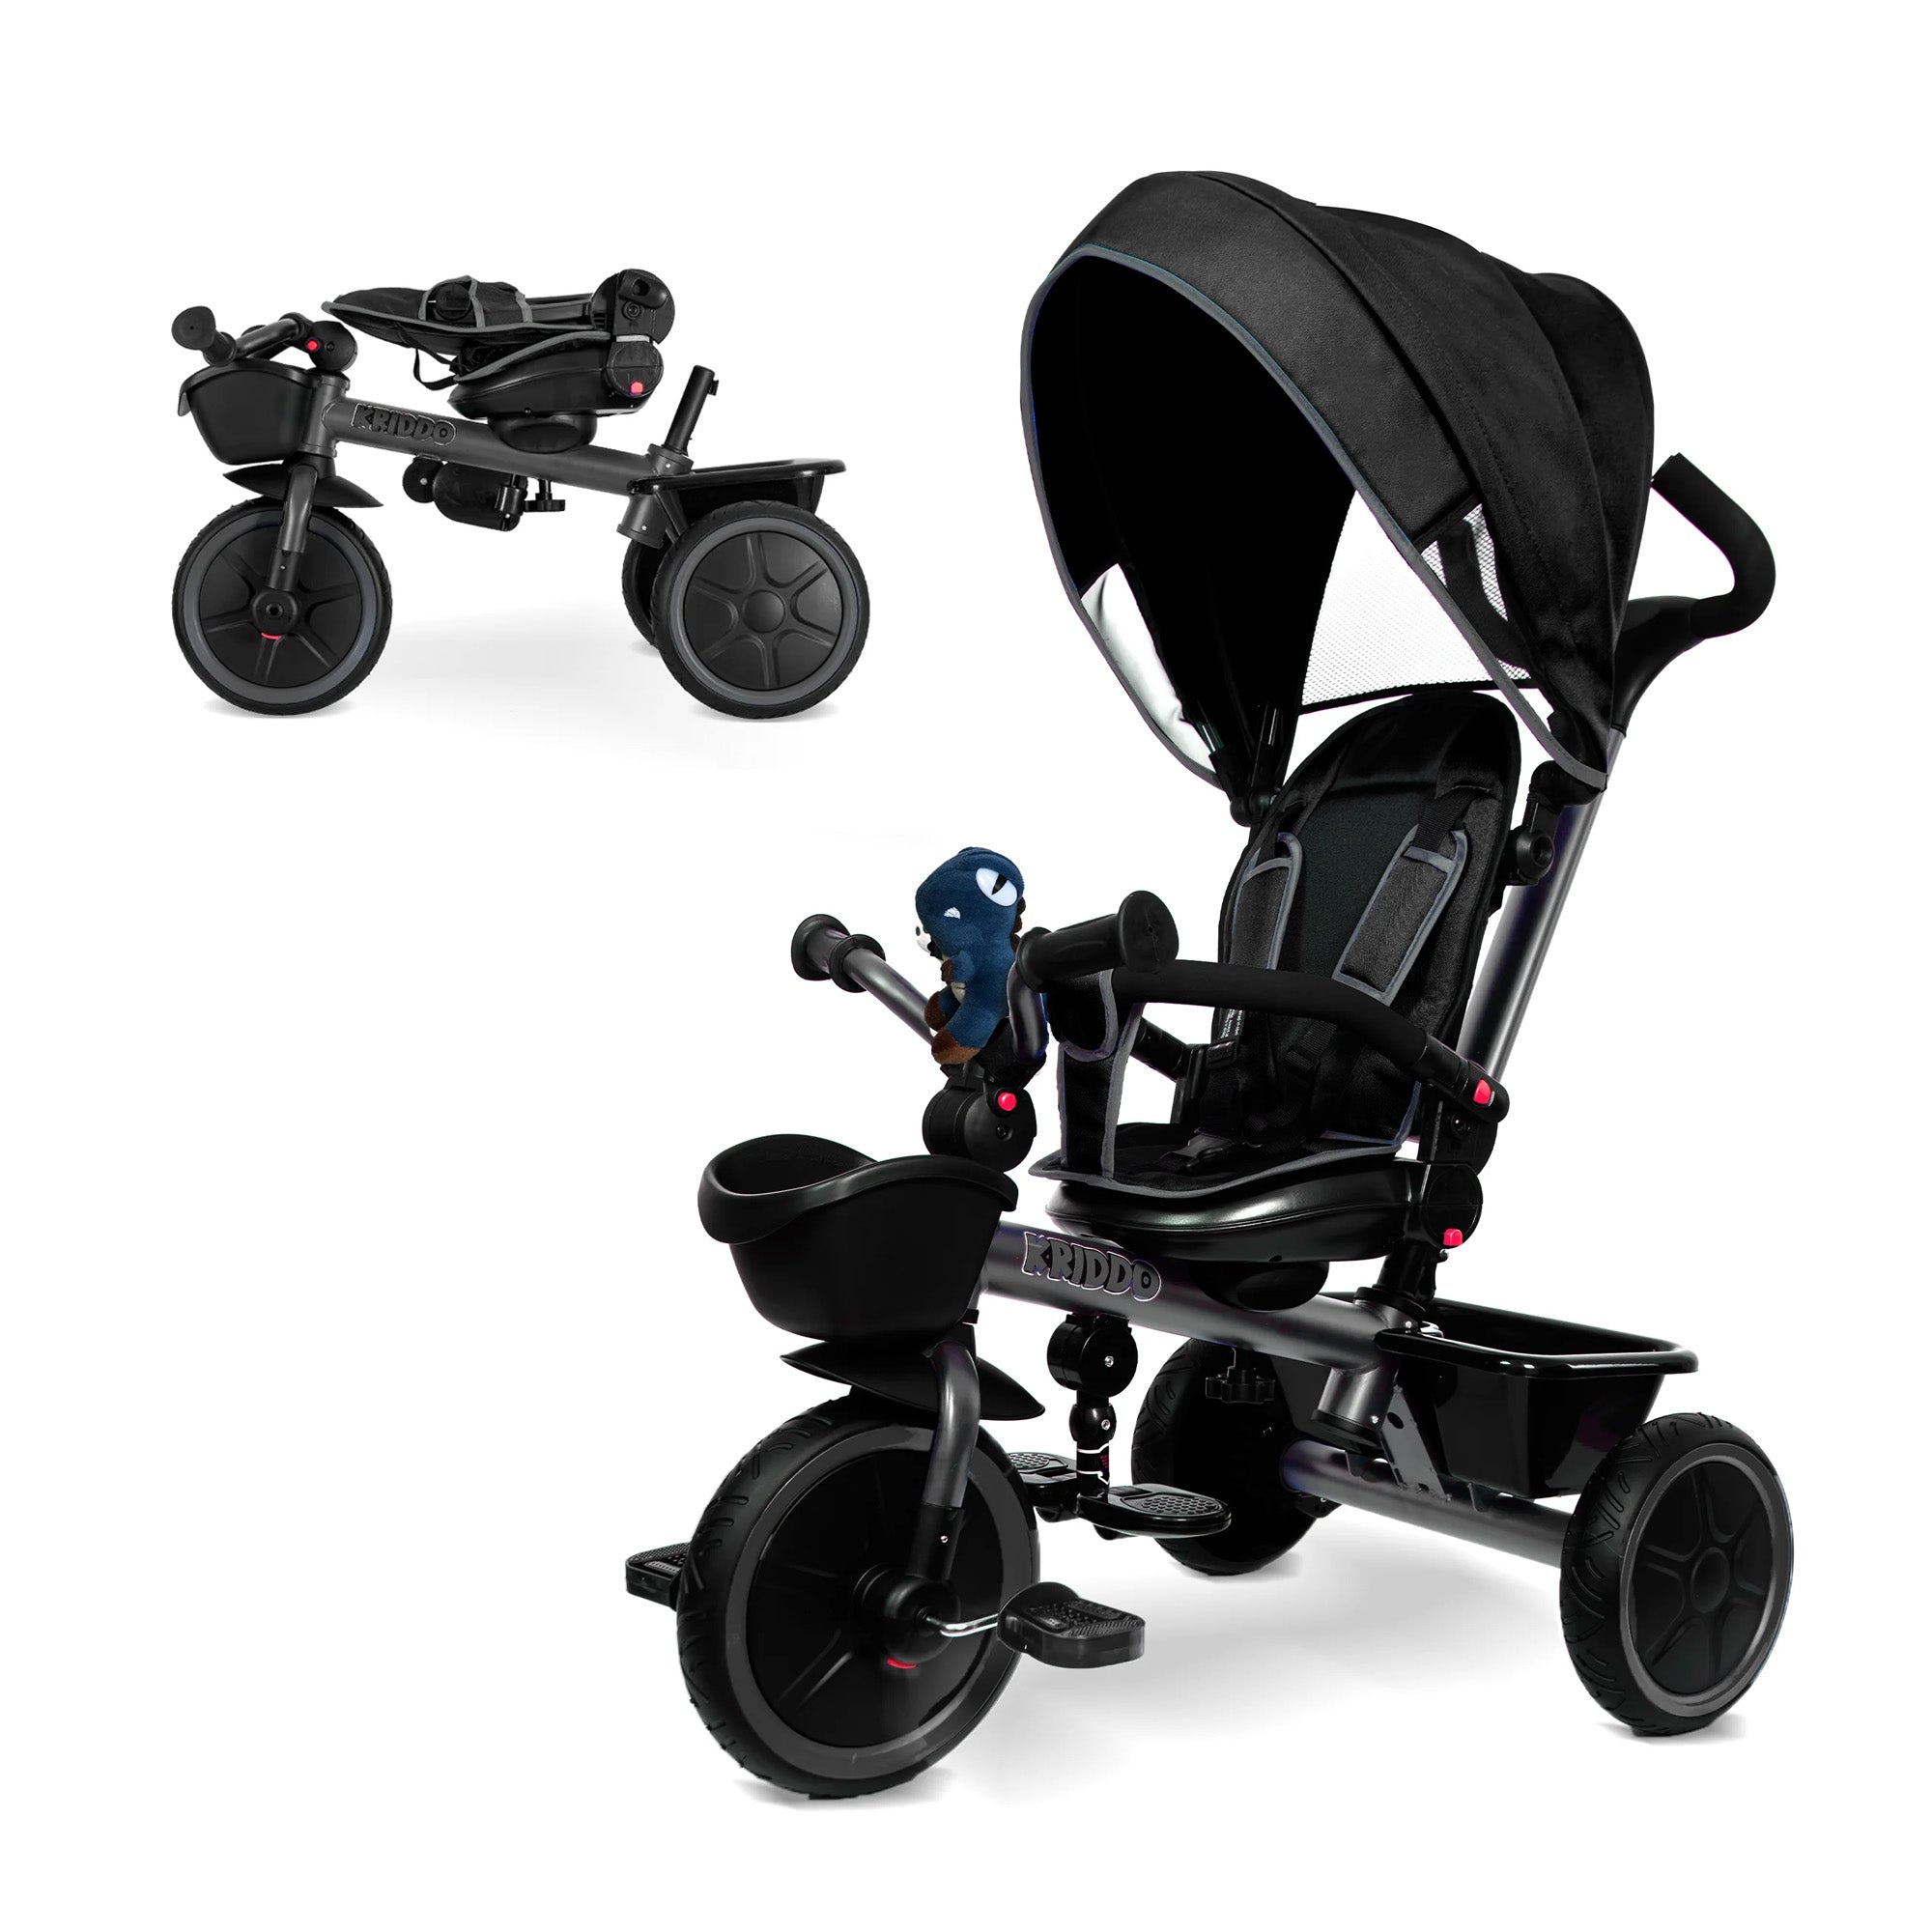
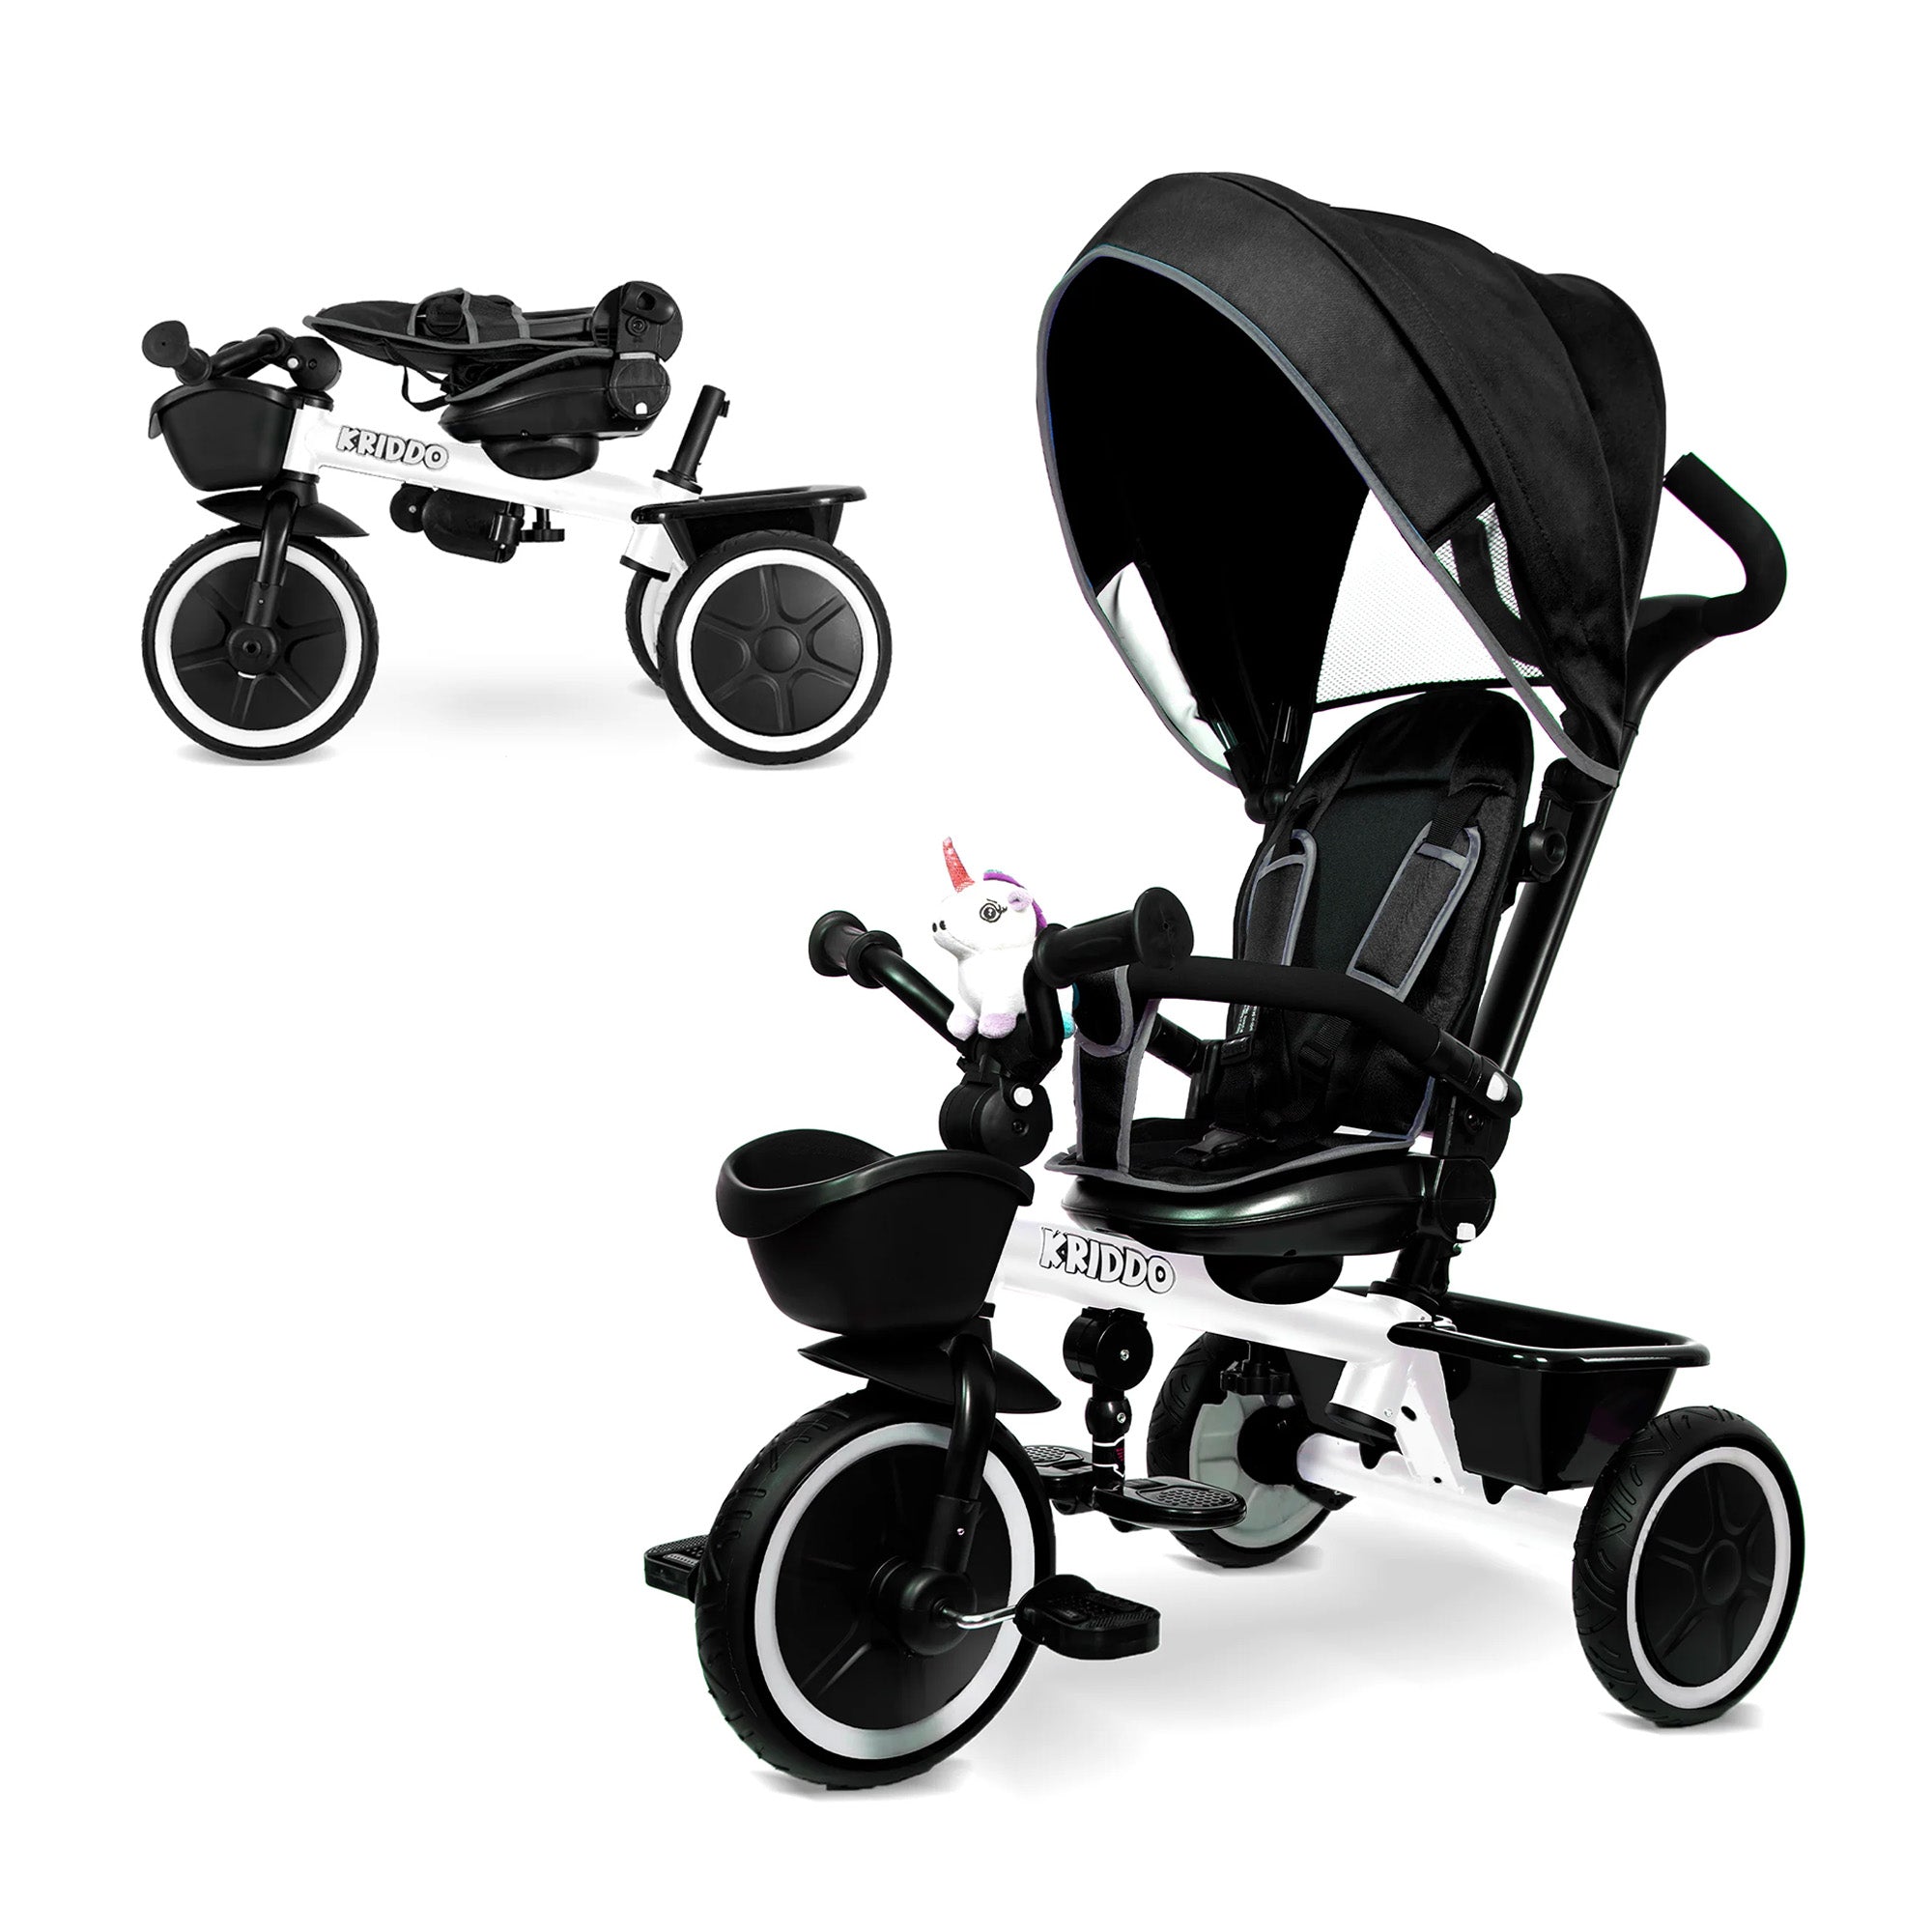
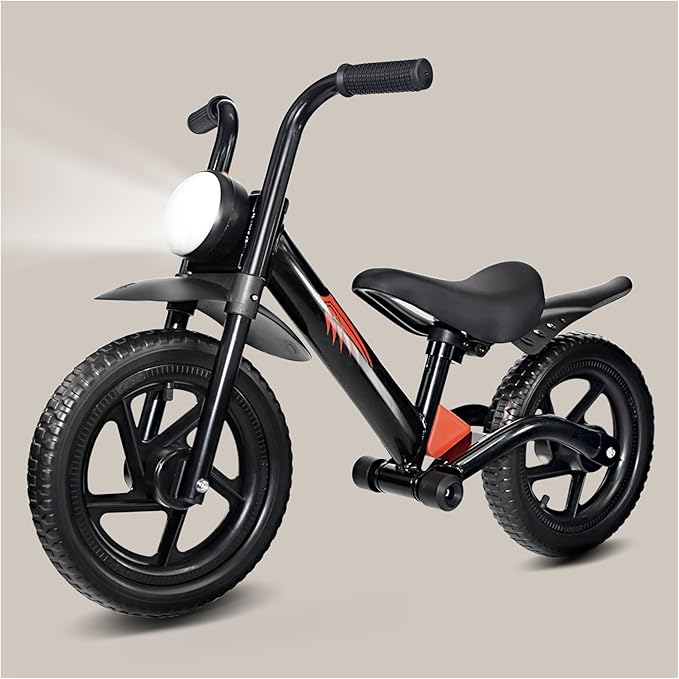
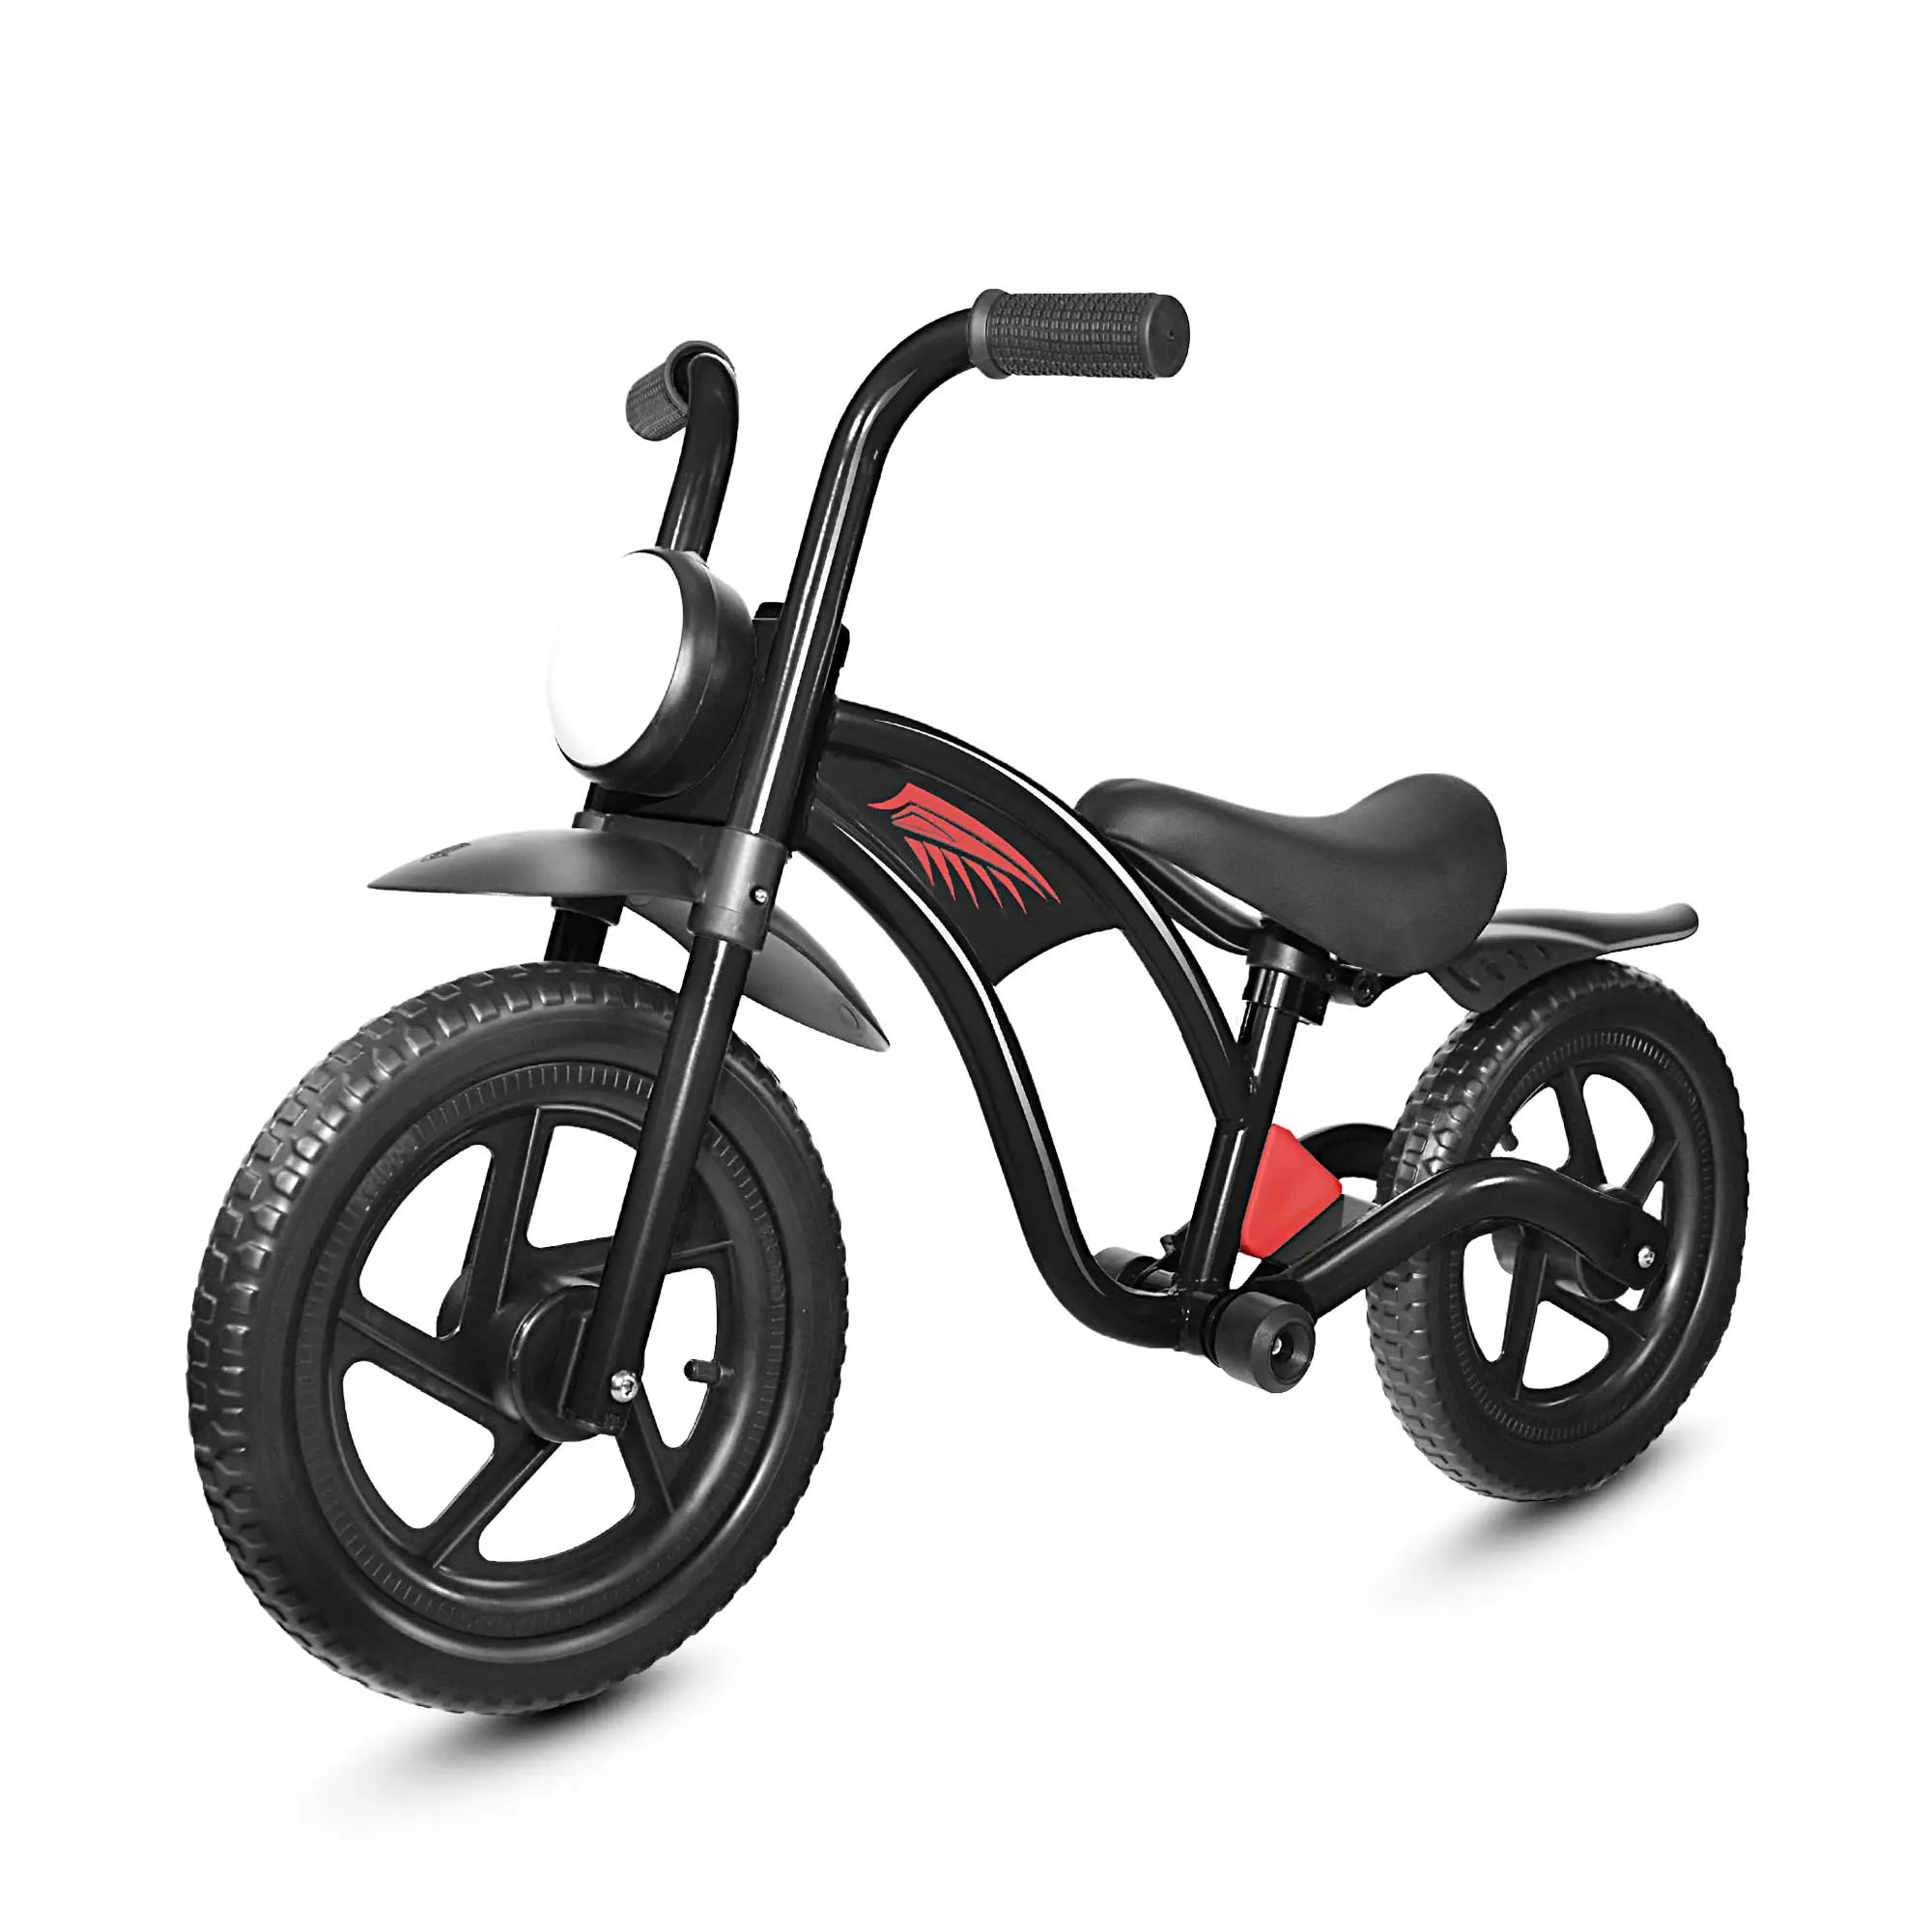
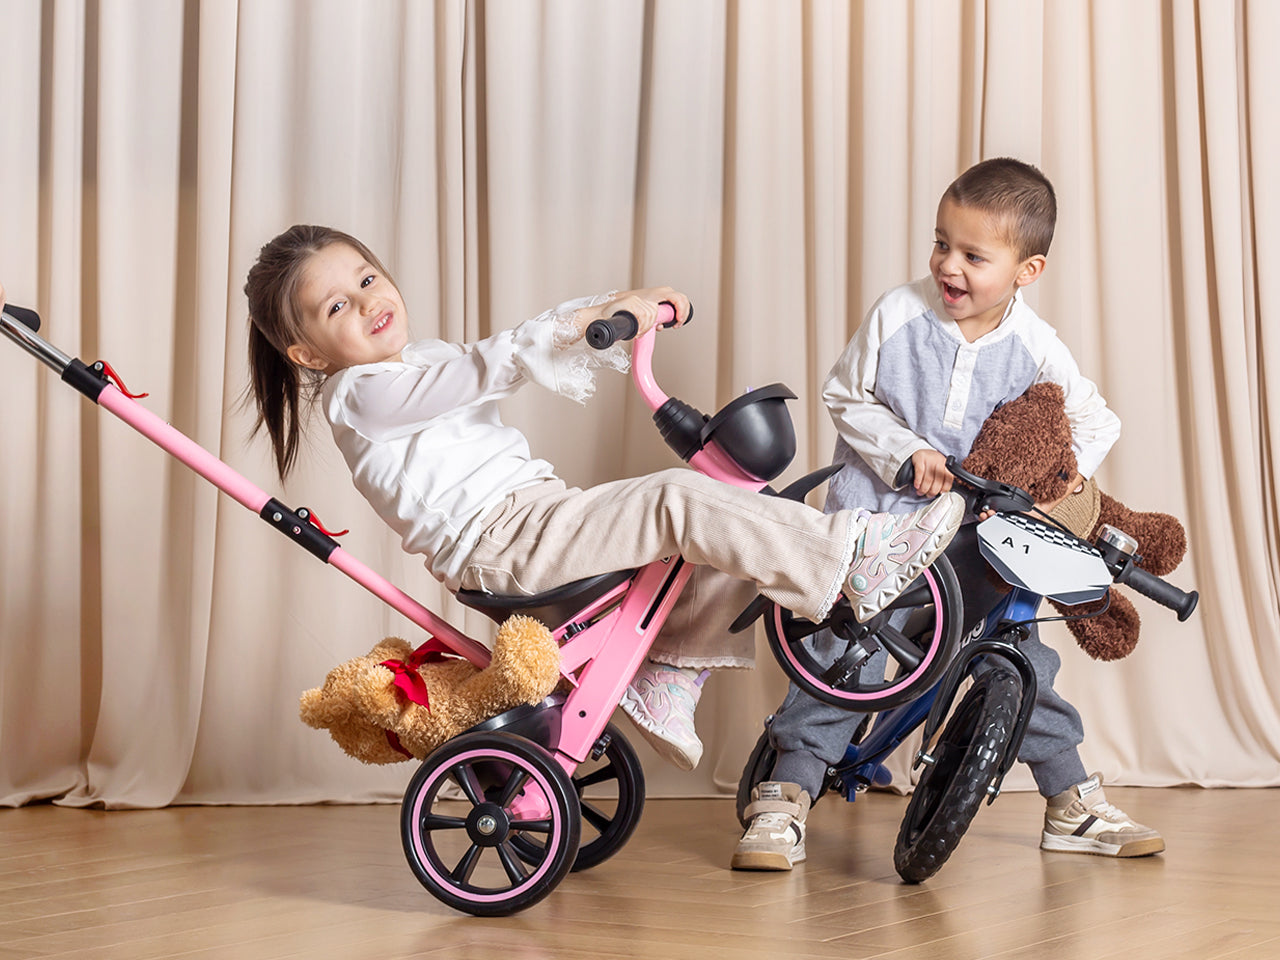
That’s one reason many families like KRIDDO. As a well-known American kids’ bike brand with over a million bikes sold, it has helped a lot of young riders build confidence from the earliest stages. Along with balance bikes and tricycles, the brand also offers the GoFar Series, which is designed for slightly older kids who are ready for 14–16 inch bikes.
That last part matters more than adults admit. When kids feel connected to their bike, they’re usually more willing to practice.
First Things First: Don’t Teach Wheelies Too Early
This part matters. A lot.
If your child still struggles with starting, stopping, steering, or braking smoothly, hold off on wheelies for now. Learning tricks before mastering the basics can create bad habits fast—and falls get scarier when a rider doesn’t know how to recover.
A child should already be able to:
- Ride without panic
- Use brakes on command
- Coast in a straight line
- Start pedaling smoothly
- Stay balanced on gentle turns
If those basics are solid, then you can begin practicing the early stages of a wheelie in a controlled way.
Safety Gear Is Not Optional
No shortcuts here. A wheelie increases the chance of tipping backward or sideways, so safety gear needs to be part of the routine every single time.
Make sure your child wears:
- A properly fitted helmet
- Elbow pads
- Knee pads
- Closed-toe shoes
- Long pants if possible for early practice
And the practice spot? Choose a flat, open, traffic-free area like an empty parking lot, a smooth cul-de-sac, or a quiet paved path. Avoid hills, gravel, wet pavement, and crowded spaces.
Honestly, the best setup is boring. Boring is good when kids are learning something new.
How to Do a Wheelie on a Bike for Kids: Step by Step

Now for the part your child actually cares about.
1) Adjust the Seat to a Mid Position
One of the biggest problems kids run into while trying a wheelie is losing balance and falling backward. Setting the seat at a middle height can help improve control by putting the center of gravity in a more manageable place.
If the seat is too high, your child may feel stretched and unstable. Too low, and they may lose efficient pedal power. A medium setup tends to work best for early practice.
As they improve, you can fine-tune the seat position. Just remember—changing the seat height changes how the bike balances, so they may need time to adjust again.
2) Cover the Rear Brake Before Anything Else
Before your child tries to lift the front wheel, teach them one habit first:
Keep one finger ready on the rear brake.
This is the single most important safety skill in wheelie practice. If the bike tips too far backward, a gentle tap of the rear brake will bring the front wheel back down. That brake is the reset button.
Not the front brake. The rear brake.
Practice this before trying wheelies at all. Let them ride slowly and lightly tap the rear brake a few times until it feels normal and automatic.
3) Start Slow and Shift Back
To begin the wheelie motion, your child should ride at a slow, controlled pace—not too fast, not crawling.
Then they should:
- Sit near the front edge or middle of the seat
- Keep arms extended but not stiff
- Lean back slightly, almost like sitting into a rocking chair
- Push down on the pedal with a smooth, stronger stroke
That backward body shift, combined with pedal force, is what helps lift the front wheel.
A lot of kids try to yank the handlebars up with their arms. That usually makes the movement jerky and hard to control. The lift should come mostly from pedaling and body position, not pulling.
4) Keep the Lift Small at First
Parents often picture a “real” wheelie as a big dramatic front-wheel rise. Don’t aim for that at the start.
The first goal is tiny. Really tiny.
If your child can lift the front wheel even a few inches in a calm, repeatable way, that’s progress. That’s the foundation. Big wheelies come later—if they come at all.
Small lifts help kids learn the feeling without scaring themselves.
And once a child gets scared during practice, it gets much harder to build smooth control again.
How Parents Can Help Without Over-Coaching
This part is underrated.
Kids usually learn better when they feel supported, not micromanaged. Too much correction can make them nervous or self-conscious, especially when they’re already doing something that feels risky.
A better approach is to keep your coaching simple:
- “Eyes forward.”
- “Cover the rear brake.”
- “Small lift.”
- “Keep pedaling.”
- “Nice and smooth.”
That’s enough.
Also, praise effort—not just success. A child who safely controls a failed attempt is often learning more than a child who got lucky once.
Practice Really Is the Whole Game
There’s no shortcut here. Wheelies are one of those bike skills that improve through repetition, not theory.
Some kids will get the basic motion in one afternoon. Others will need days or weeks before it starts to click. That doesn’t mean they’re bad at it. It just means they’re learning a coordination-heavy skill, and those take time.
Falling a little, trying again, adjusting, and repeating—that’s part of the process.
And that’s not failure. That’s how bike skills are built.
So if your child gets frustrated, remind them: progress often looks messy before it looks impressive.
Final Thoughts

If you’ve been wondering how to do a wheelie on a bike for kids, the short answer is this: start with the right bike, teach brake control first, keep the lifts small, and let practice do the heavy lifting.
A wheelie is fun, yes—but it’s also a lesson in patience, coordination, and confidence. Done safely and gradually, it can be one of those bike milestones kids remember for a long time.
And if they don’t land it right away? That’s fine too.
Because sometimes the best part of learning a trick isn’t the trick itself. It’s watching a child realize they can keep trying, keep improving, and eventually figure it out.